BLUETTI Charger 1 Review: 560W Alternator Charger
Updated:
The BLUETTI Charger 1 is a compact DC-DC alternator charger designed to power vanlife, RV, and off‑grid power systems while driving. It gives you a way to quickly top off your power station on the road instead of relying solely on solar panels or slow 12V car sockets. In this review, I break down what you need to know before buying, including setup details, third-party power station compatibility, and how it compares to the Charger 2.
My opinions, not under contract. Uses affiliate links. Brands send some review items. See details
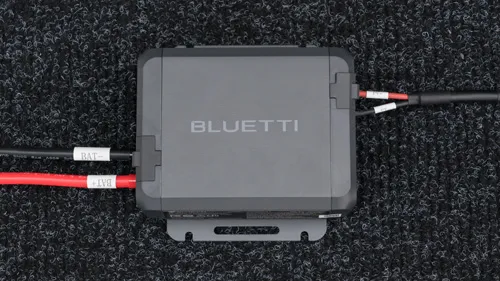
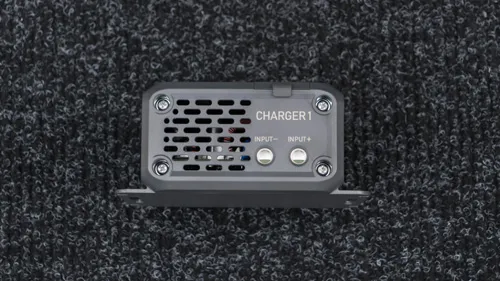
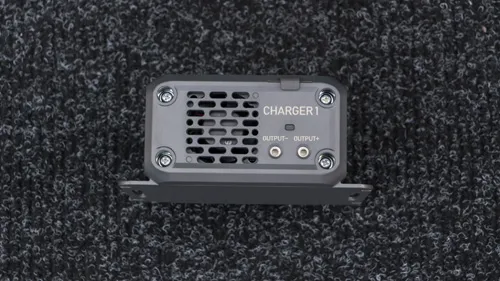
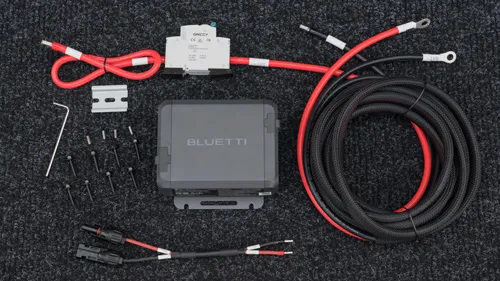
More photos and setup instructions below.
Overview
- Automatic Charging: Automatically controls charging using intelligent voltage detection so it only operates when the vehicle is running.
- Strong Performance: Delivers a 560W charging rate, though I occasionally see real-world peaks near 580W. It offers a solid mid-tier charging rate that keeps your power station recharging fast on the road.
- Compact Size: Takes up very little mounting area, making it easy to fit into your setup while maintaining the open airflow its cooling fan requires.
- Broad Compatibility: Basic charging and solar also work with many third‑party models from brands like EcoFlow and Jackery. This flexibility makes it a versatile option for mixed‑brand power setups.
- Smart App Control: Monitor energy flow and adjust charging settings via the BLUETTI app.
- Price: Competitively priced against other options on the market.
Considerations
- Solar Input Conflict: Plugs directly into your power station's solar port, blocking simultaneous solar charging on single-input units unless you swap cables or add a switch. Even on units with dual physical ports, both jacks must be electronically independent to run solar alongside Charger 1. Charger 2 avoids solar port conflicts by connecting via BLUETTI’s expansion battery port and incorporating its own solar controller.
- Limited Power Output Controls: While the app supports voltage adjustment, it lacks a way to set a specific wattage. This makes it impossible to dial back charging power for lower‑capacity alternators without using Silent Charging mode, which throttles output automatically.
- Requires Accessory Cable: Uses a very short MC4 output cable that typically requires an additional adapter cable (like MC4-to-XT60 or MC4-to-DC8020) to connect to your specific power station. Many power stations include this adapter, but you may need to source one separately depending on your model.
- Noise Levels: Unlike some competitor models that use fanless designs, Charger 1 relies on active fan cooling. However, it remains impressively quiet, especially when compared to Charger 2. For completely silent operation, the unit features a "Silent Charging" app toggle that throttles the charge rate down to roughly 300W to minimize heat and fan activity.
- DC Breaker: Uses a bulky 63A resettable breaker that doubles as a convenient manual power disconnect. However, it's located near the charger rather than near the vehicle battery, where standard DC wiring practices dictate fusing to protect the full cable run. Consider adding an aftermarket 70A fuse next to the battery for better protection.
- Limited Ingress Protection: With an IP20 rating, the Charger 1 offers no protection against water and minimal protection against dust. Keep this in mind if you plan to install it in dusty environments. Long-term dust buildup inside the unit could impact cooling performance compared to a sealed, fanless design.
- Altitude Limitation: The manual lists an operating altitude of up to 6,561 ft (2,000 m). If that limit is strict, it is a real constraint for people who camp or travel at higher elevations. BLUETTI should raise this limit in future hardware revisions or provide clearer guidance on what to expect above it.
Detailed Comparison
BLUETTI Charger 1 vs Charger 2 comparison table:
| Model | Charger 1 | Charger 2 |
|---|---|---|
| Photo | 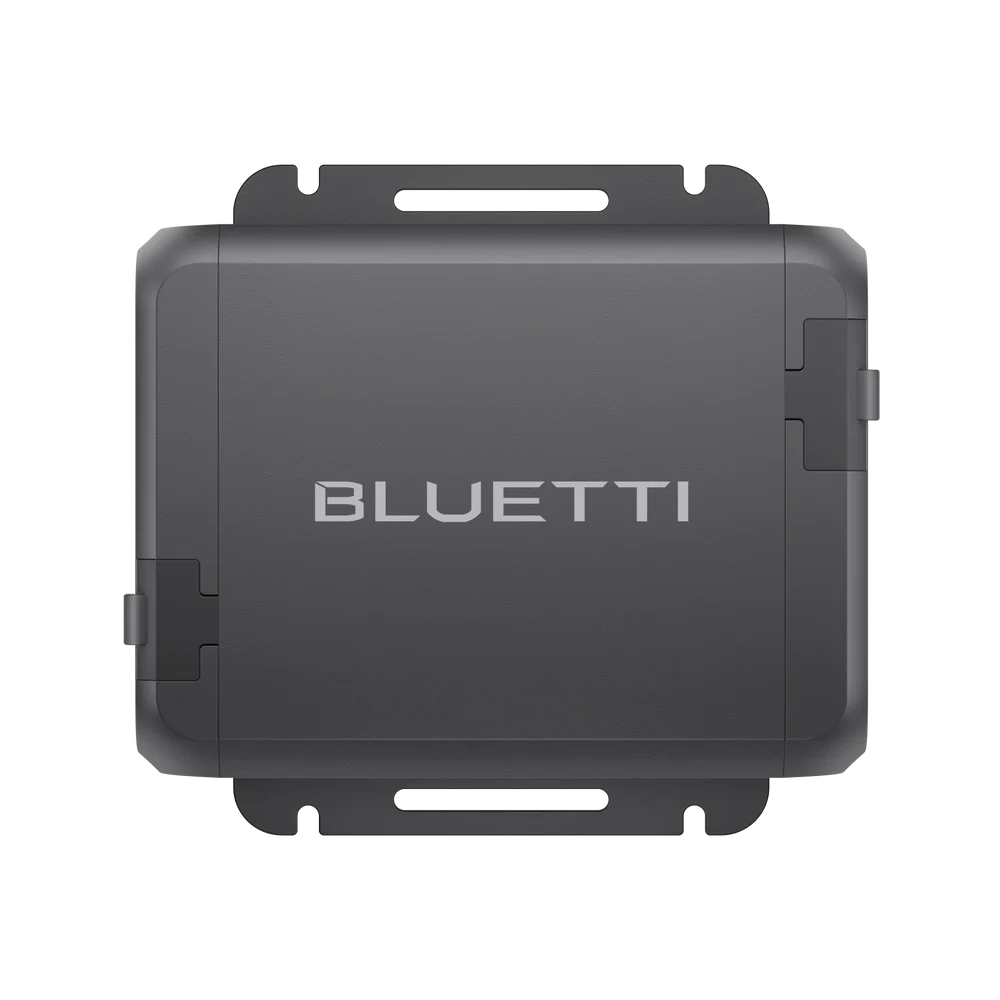 | 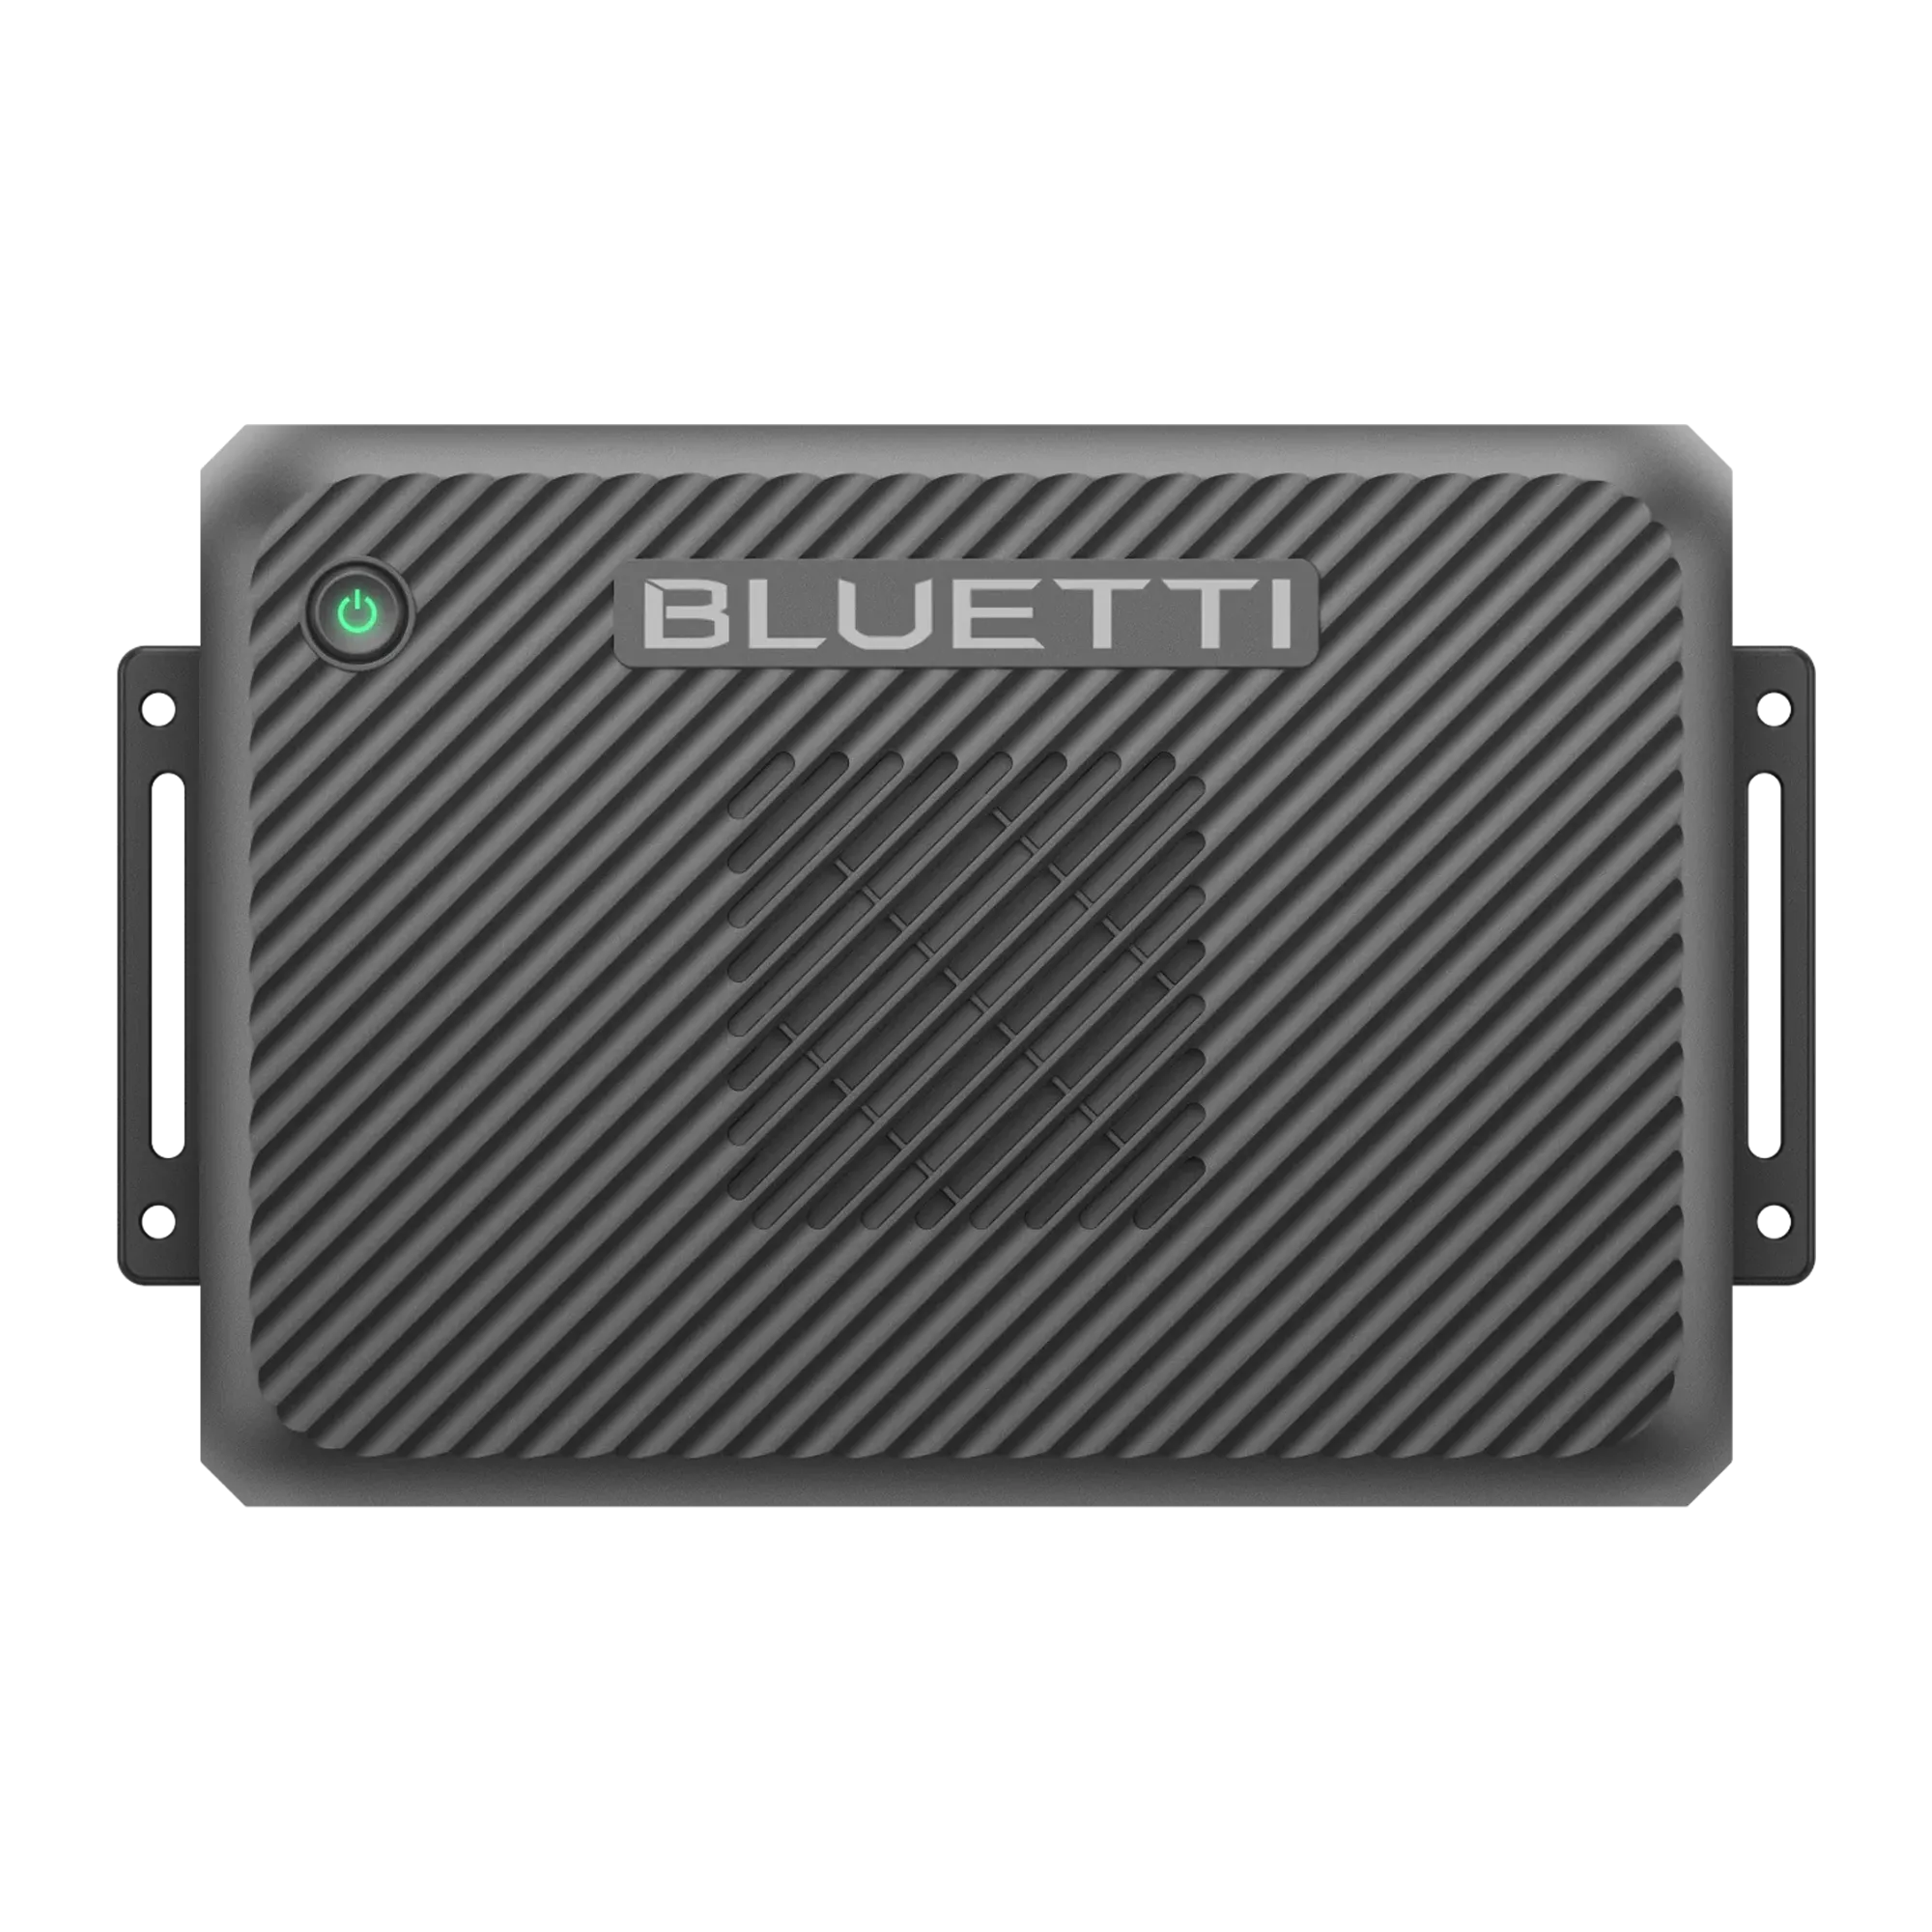 |
| Links | ||
| Price | $249 | $499 |
| Alternator Input | 560W | 800W |
| Solar Input | -- | 13-50V⎓20A, 600W |
| Power Station Port | 560W | 1,200W |
| Bidirectional Port | -- | 1,000W 1 |
| DC Hub Port | -- | 700W 2 |
| Max Reverse Charge | -- | 800W 1 |
| Battery Maintenance | -- | 100W 1 |
| Signal Wire (D+) | -- | Add-on |
| Size | 5.7 × 4.3 × 2.4 in (145 × 110 × 60 mm) | 10.4 × 6.7 × 2.7 in (265 × 169 × 70 mm) |
1. Requires compatible BLUETTI product. 2. Requires BLUETTI DC Hub. Also requires a BLUETTI device connected to the bidirectional port to be active when vehicle is off.
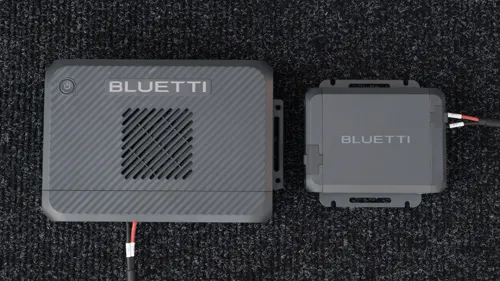
Charger 1 is smaller and more affordable than Charger 2, though it lacks the advanced charging features found on the newer model.
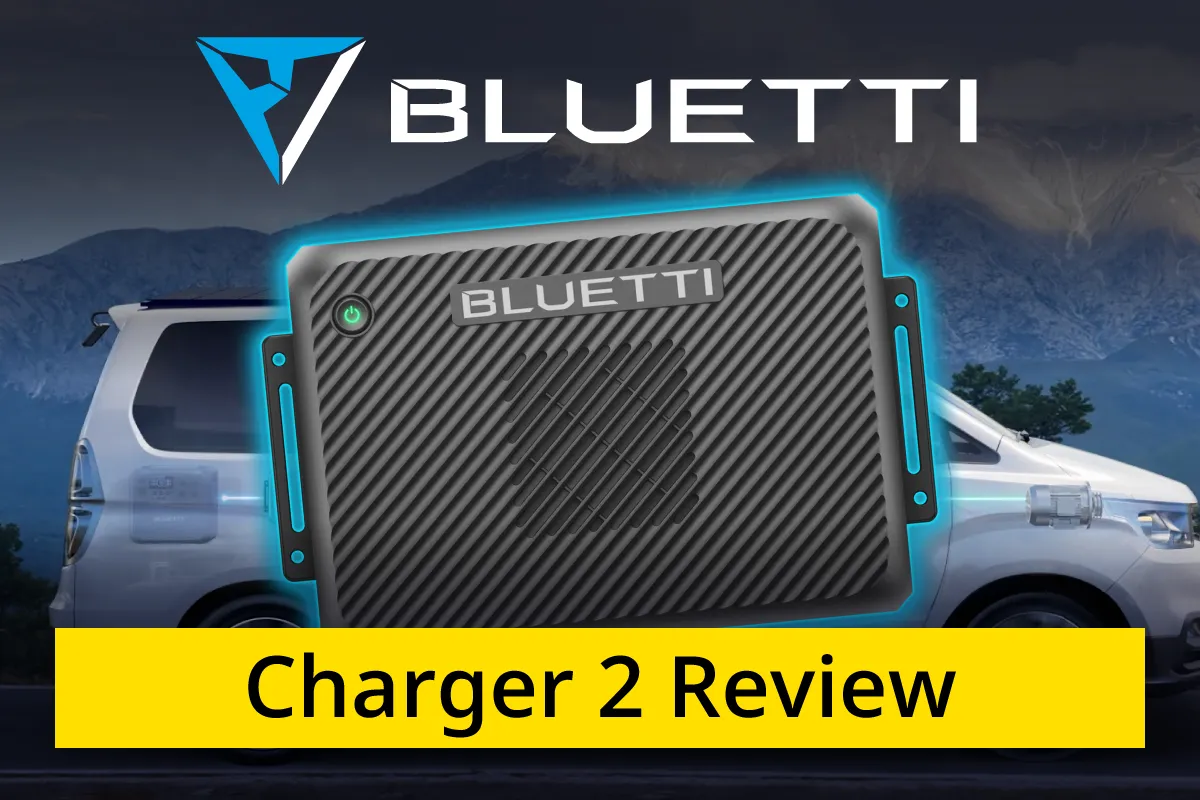
For more details about Charger 2 see my review:
I would love to see BLUETTI offer a version that keeps the Charger 1 model's core functionality while adding built‑in D+ support and an adjustable charging rate. It would be a great middle ground for smart alternator setups, delivering reliable charging without forcing users to pay for advanced Charger 2 features they might not need.
Full Specifications
Check Compatibility
View my detailed compatibility guide for BLUETTI power station support and 3rd-party battery system limits. My guide outlines the exact wattage limits for every BLUETTI power station using Charger 1 alternator charging. It also includes a compatibility calculator for 3rd-party brands like EcoFlow, Jackery, and Anker to ensure your setup is safe and efficient.
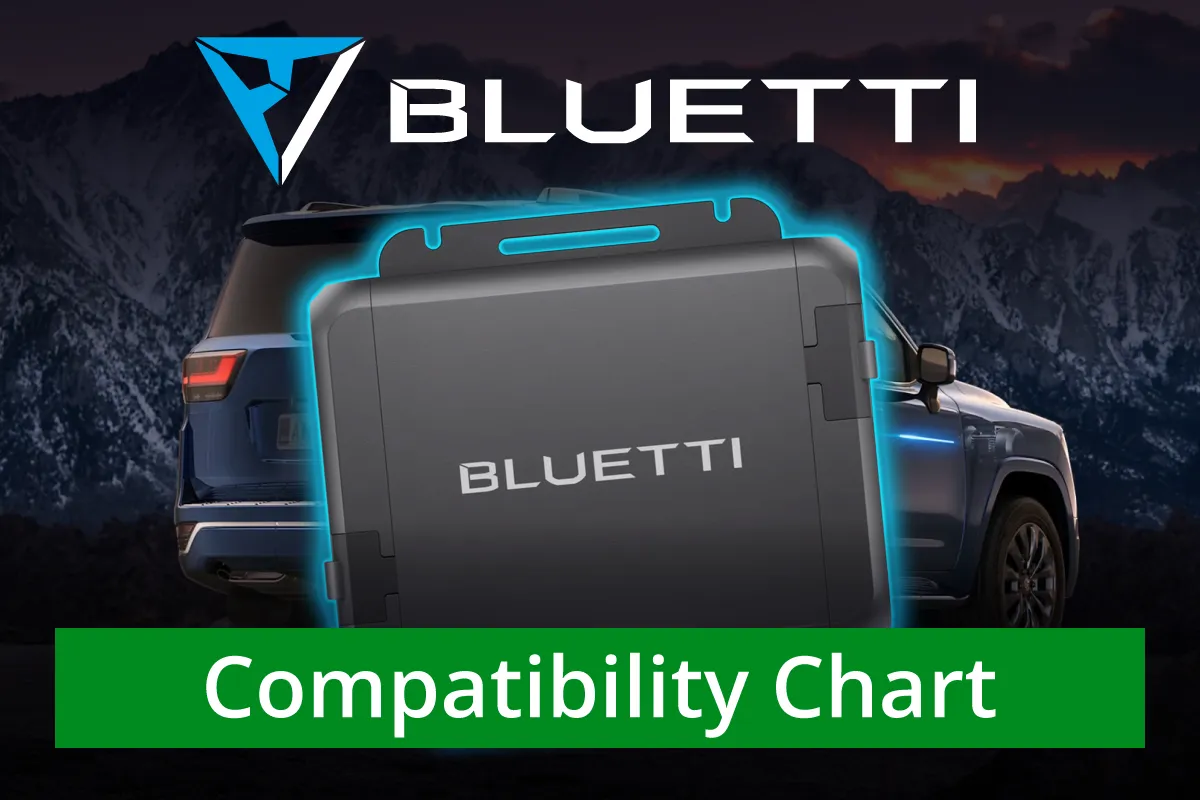
BLUETTI Charger 1 Compatibility
Compatibility Guide
How to Install
Installing Charger 1 isn't difficult, but it does require vehicle battery access, making DC electrical connections, thoughtful cable routing, and a few basic tools.
Enlarge photos for captions.
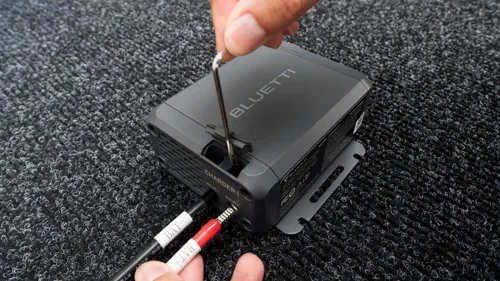
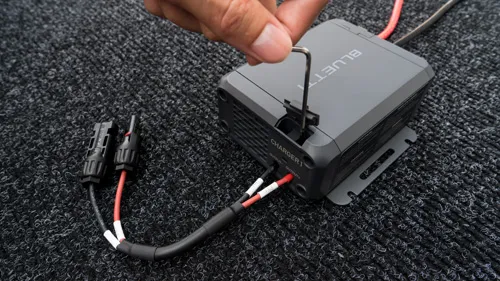
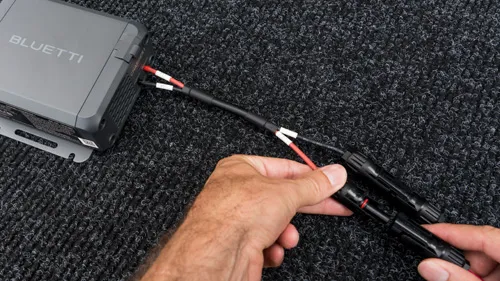
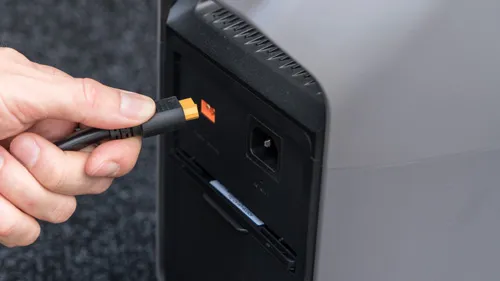
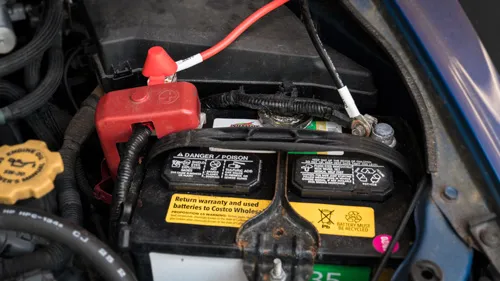
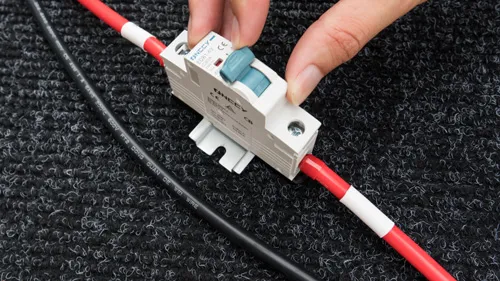
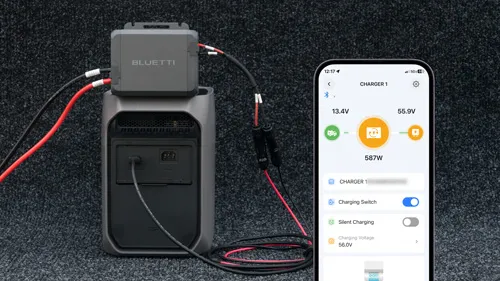
Because it uses screw terminals, it's important to check them occasionally to ensure they don't vibrate loose over time, which can be a fire hazard. I appreciate that BLUETTI doesn't use proprietary connectors, but it would be nice if they were fully vibration-resistant and included additional protections to prevent a user from wiring it incorrectly.
Cables
For the connection between Charger 1 and your vehicle’s battery, BLUETTI utilizes flexible, silicone-insulated 6AWG stranded wire encased in a durable braided sleeve. At over 16 feet, the battery cable is generously long, and its design allows for significantly easier routing compared to traditional cables with rigid PVC insulation. In contrast, EcoFlow uses standard PVC insulation and an overly tight braided wrap, resulting in a cumbersome cable that is much more difficult to maneuver.
The included MC4 output cable is very short, but you can easily extend it using standard solar extension cables. Connecting it to your power station requires a separate adapter cable (typically MC4 to XT60 or DC8020). While many power stations include one, you may need to source it separately depending on your setup.
Need an install guide for a Ford Transit?

Install Guide: Ford Transit
Ford Transit + BLUETTI Alternator Chargers
App Control
The BLUETTI Charger 1 pairs with the BLUETTI app to allow for device monitoring and customization of default settings. The app is available on iOS and Android. The following screenshots show all currently available options, ordered exactly as they appear in the settings menu.
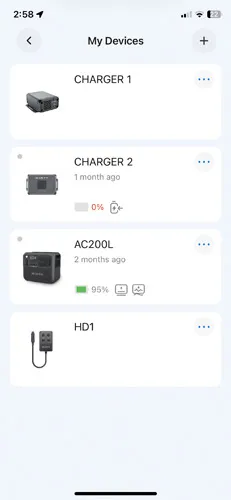
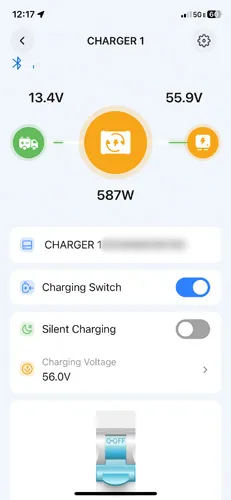
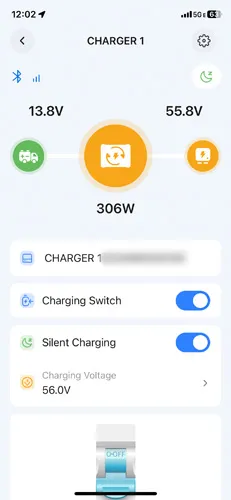
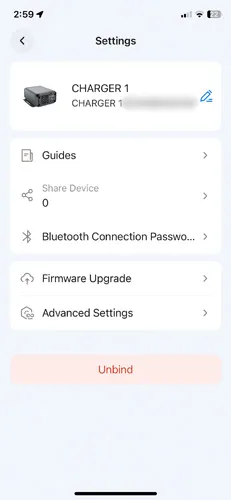


The app displays the device serial number on multiple main screens rather than a single settings page. This makes it far too easy to accidentally leak private hardware info and made capturing clean, shareable screenshots a chore.
With a few small improvements, the app could be drastically improved:
- App design: BLUETTI’s app would benefit from clearer organization. However, the Charger 1 app experience is much more straightforward than that of Charger 2.
- In-App Guidance: While the existing tooltips are a great start for understanding complex settings, the app would benefit from more consistent coverage. Currently, several key features lack any explanation, which forces users to make assumptions about how a setting might impact their system. Adding tooltips for every toggle and including short, "how-to" video snippets in the guides section would go a long way in making the app feel like a complete resource for the user.
- Adjustable charging: The app lets you adjust the voltage but not the charging rate (amperage). Even if an alternator supports 560W, users need the ability to dial it back on different trips to manage heat or efficiency.
- Vehicle Integration: The lack of CarPlay and Android Auto support is a missed opportunity for a device often used in van-life and overlanding setups where hands-free monitoring is important.
My Verdict
The BLUETTI Charger 1 is an easy-to-use, reliable DC-DC charger that delivers up to 560W of power while driving. While higher-wattage units exist, its compact footprint makes it easy to mount in tight setups. Its primary drawback is that it occupies your power station’s solar input port rather than connecting through a dedicated expansion battery port like Charger 2 supports. Overall, it’s a capable and competitive alternator charger option.
The Bottom Line: If you are already in the BLUETTI ecosystem and want reliable on-the-go charging without paying extra for Charger 2’s advanced features, Charger 1 is a solid, straightforward hardware addition.
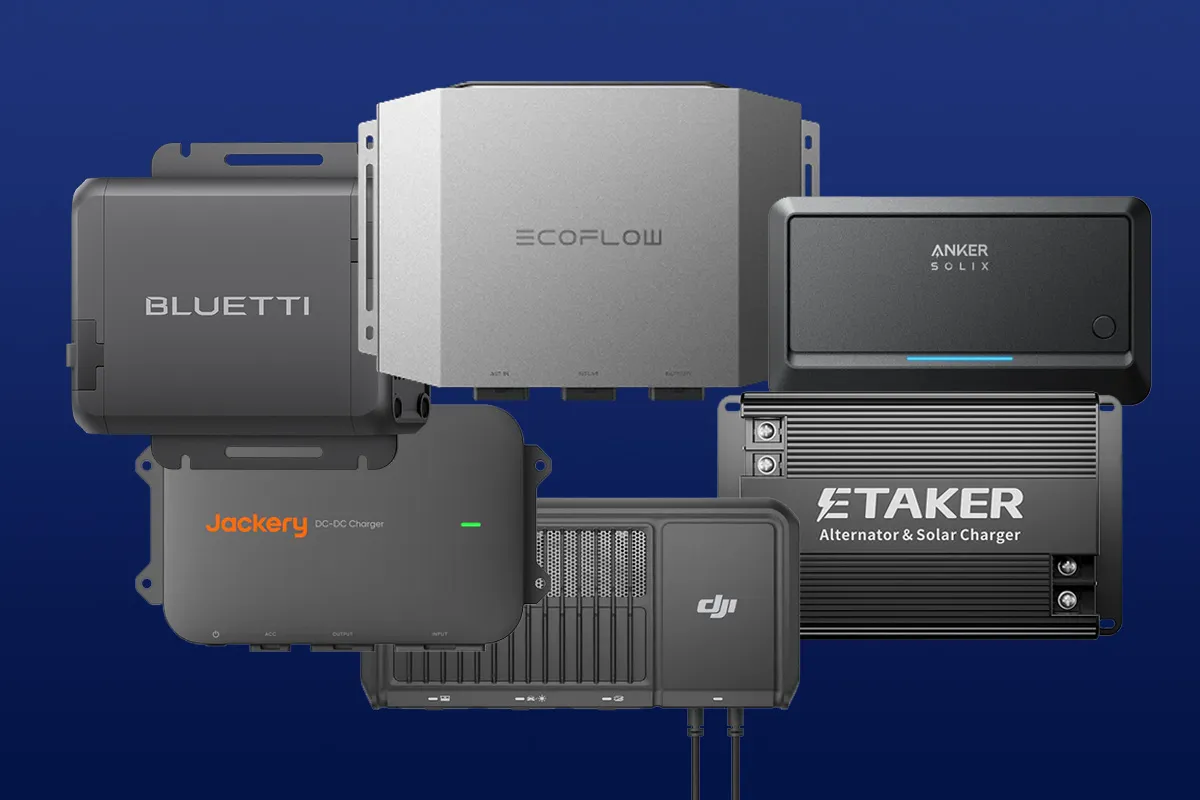
Not sure it’s the best fit? My alternator charger guide covers all the popular brands.
This page will be updated as new information becomes available.